


Introduction
XAMPP is a free and open-source cross-platform web server solution stack package developed by Apache Friends, consisting mainly of the Apache HTTP Server, MariaDB database, and interpreters for scripts written in the PHP and Perl programming languages.
How to go about it
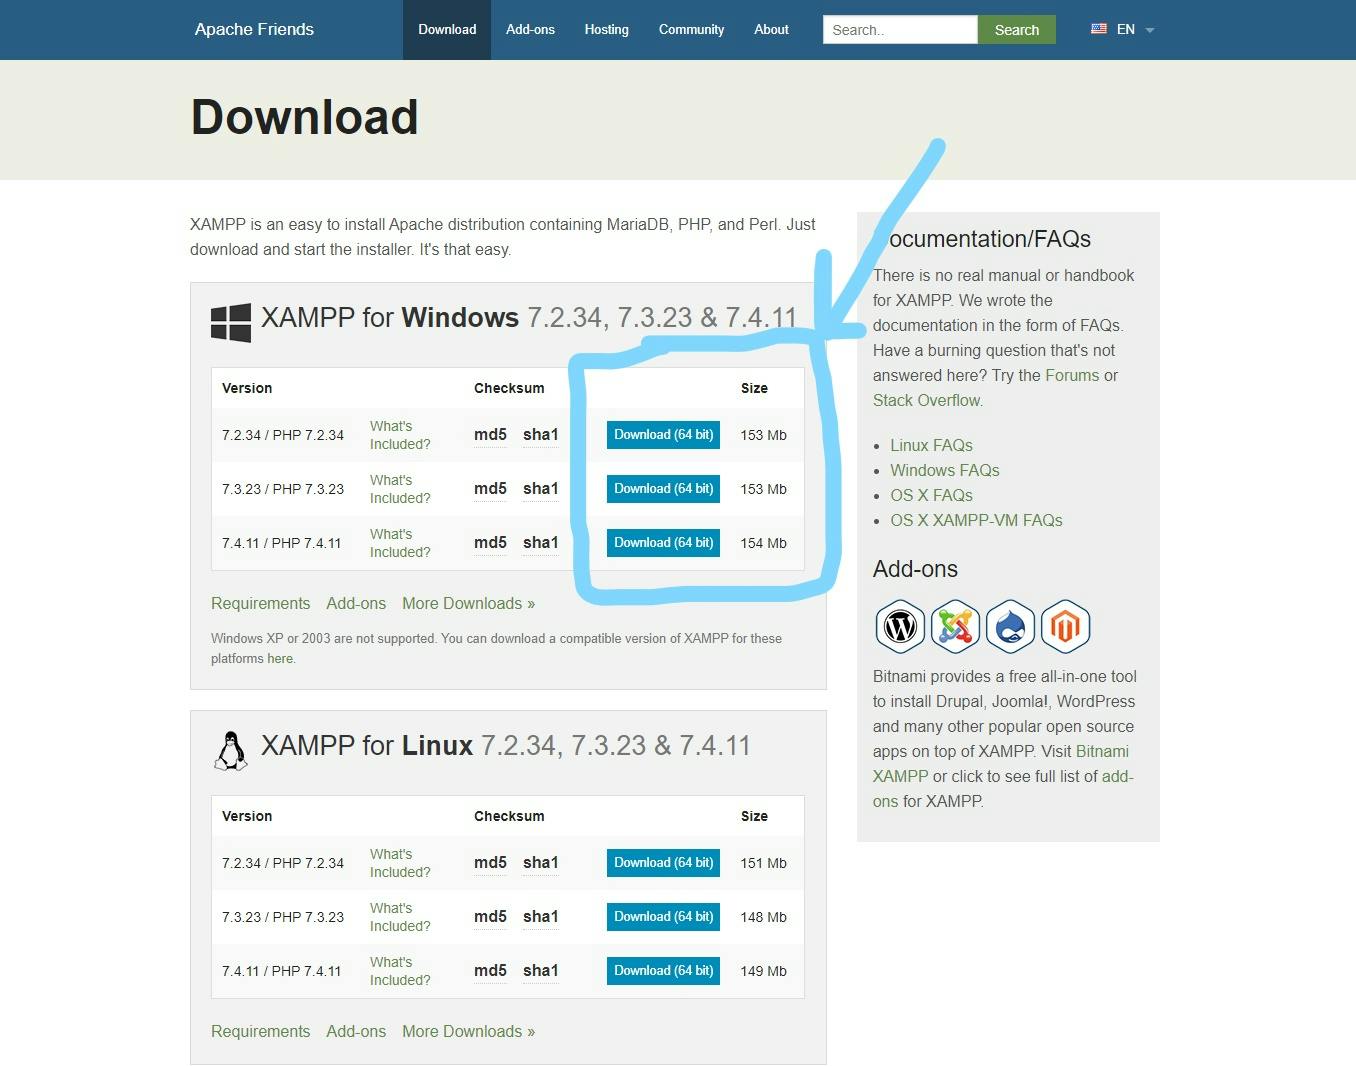
Step1: Download Xammp
Firstly, go to the official Xammp website and download the windows version Click here
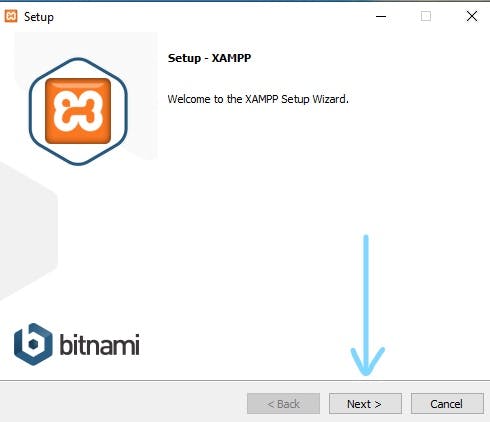
Step 2: Run the installation package
Double click on the installation package or right click and click 'run as administator'
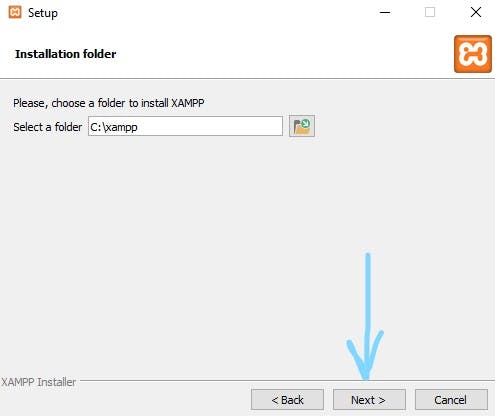
Step 3: Choose the location for installation. It is recommended to use the default location. Click next
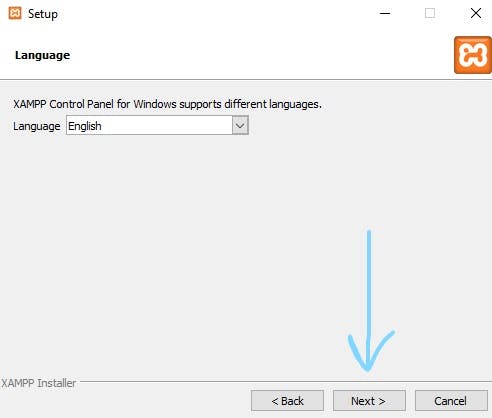
Step 4: Select your default installation language in the dropdown on the top left
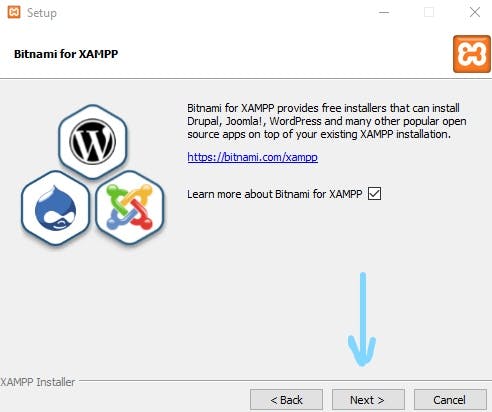
Step 5: Uncheck or check the box
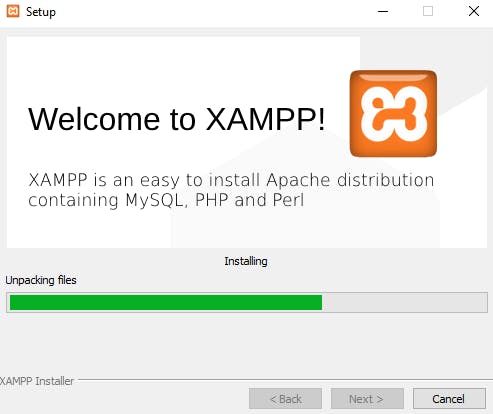
If you don't want to be redirected to the apache and friends site for more details on Xammp. Click on the next button to continue. This will start up the installation process. Just seat back and wait for the installation process to complete
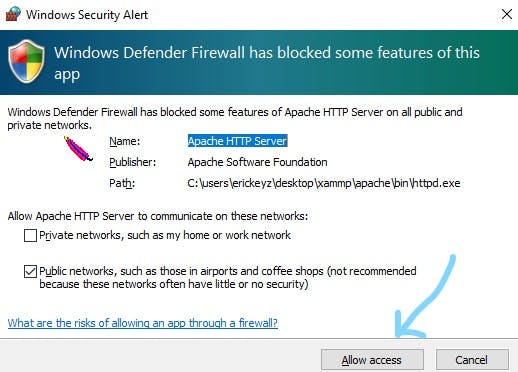
Step 6: Prompt
Occasionally, the installation process will prompt you to allow network access for the apache server. Once you permit this, the installation process will smoothly continue.
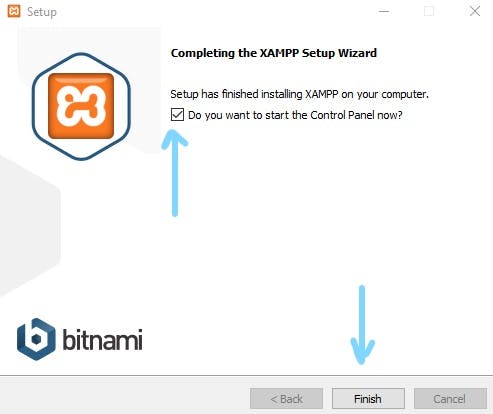
Step 7: Finalizing the installation
Once this is all done the finale installation page appears. If you want to run Xammp instantly, check the box and click on finish.
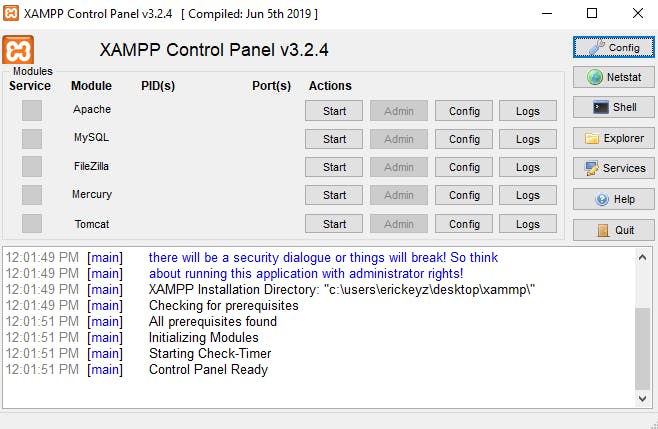
Congratulation
Felicitation, you have successfully installed Xammp on your windows 10