


Introduction
What is a route?
A route is simply a specific path. Just like going home after a class, you might decide to use a specific path to get home. Similarly routes takes us to our target destination.
In react, we might have several components we want to display at a specific time or action by a user to display a different interface or view. In this case, routes play an important role.
In this post, we are going to create a simple react app with 3 components (home, about, contact), then use simple routes to navigate to these separate components.
1. Creating react app:
We are going to use the npx.
npx create-react-app my-app
cd my-app
npm start
#App Structure

###2. Creating the various components:
Now I will create a directory called 'components' in the src folder and place all my components in them.
- About.js
- Home.js
- Contact.js
- Navbar.js
- Footer.js
Since we are not passing some data for now, we will use stateless(functional) components.
The sample navbar.js file looks like this:
import '../App.css';

let Nav =()=>{
    return (
        <div>
            <nav>
            <div className ='logo'>
                <p>Logo</p>
            </div>
            <div>
                <ul>
                    <li><a href="">Home</a></li>
                    <li><a href="">About</a></li>
                    <li><a href="">Contact</a></li>
                </ul>
            </div>
            </nav>
        </div>
    )
}

export default Nav
3.Install react-router-dom:
npm install react-router-dom
4. Import all of the components you created in the App.js file
import "./App.css";
import Nav from "./components/nav";
import Footer from "./components/footer";
import About from "./components/about"
import Home from "./components/home"
import Contact from "./components/contact"
5. Add your Nav and Footer components in the jsx
function App() {
  return (
      <div className="App">
        <Nav />
        <Footer />
      </div>

  );
}
6. In the Nav component, import NavLink from the react router module and replace your anchor tags with the NavLink tag. The to Attribute should point to the route you are need. Eg:
'/' and '/home' for Home component '/about' for About component, '/contact' for Contact component.
import {NavLink} from 'react-router-dom';
<nav>
    <div className ='logo'>
        <p>Logo</p>
    </div>
    <div>
        <ul>
            <li><NavLink to = '/home'>Home</NavLink></li>
            <li><NavLink to = '/about'>About</NavLink></li>
            <li><NavLink to = '/contact'>Contact</NavLink></li>
         </ul>
    </div>
</nav>
7. Import the BrowserRouter and Route from the react-router-dom in App.js
import { BrowserRouter, Route } from "react-router-dom";
6. Wrap the returning div in the App.js component in the BrowserRouter tag. Then use to the Route tag to specify each tag.
function App() {
  return (
    <BrowserRouter>
      <div className="App">
        <Nav />
        <Route exact path = '/' component = {Home}></Route>
        <Route  path = '/home' component = {Home}></Route>
        <Route  path = '/about' component = {About}></Route>
        <Route  path = '/contact' component = {Contact}></Route>
        <Footer />
      </div>
    </BrowserRouter>
  );
}
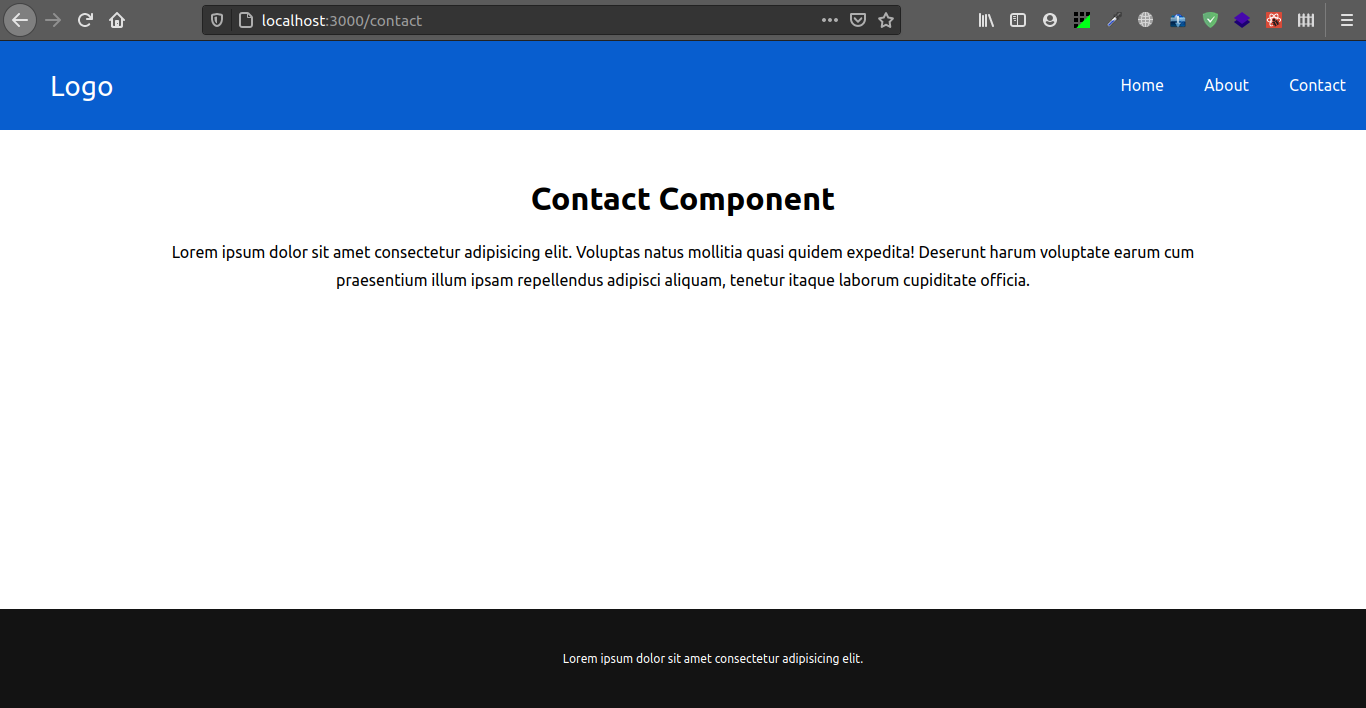
7. Save and refresh then run the script.
npm start
You should have this display.
Here is the link to the github repo. It contains all codes and the css file as well.Please do well to leave your comments and taughts. Thanks Github repo
#Next: Implementing React Routes(Part 2- Why Use NavLinks and Not Link tags)